How to Import from Inventor to SOLIDWORKS
Contents
You can bring Autodesk Inventor files into SOLIDWORKS when you need to reuse supplier data, migrate a project, or work with a model created in another CAD system. The best import method depends on the file type, the version, and whether you need editable feature history or only usable geometry.

Know the file types
Inventor part files usually use the .ipt extension, and Inventor assembly files usually use .iam. You may also receive neutral formats such as STEP, IGES, SAT, or 3MF. Neutral formats are often easier to share between CAD systems, but they may not include original Inventor features.
Before importing, ask whether you need the model for reference, manufacturing, editing, or a full project migration. A reference model may only need clean geometry, while a migration may require drawings, assemblies, and part metadata.
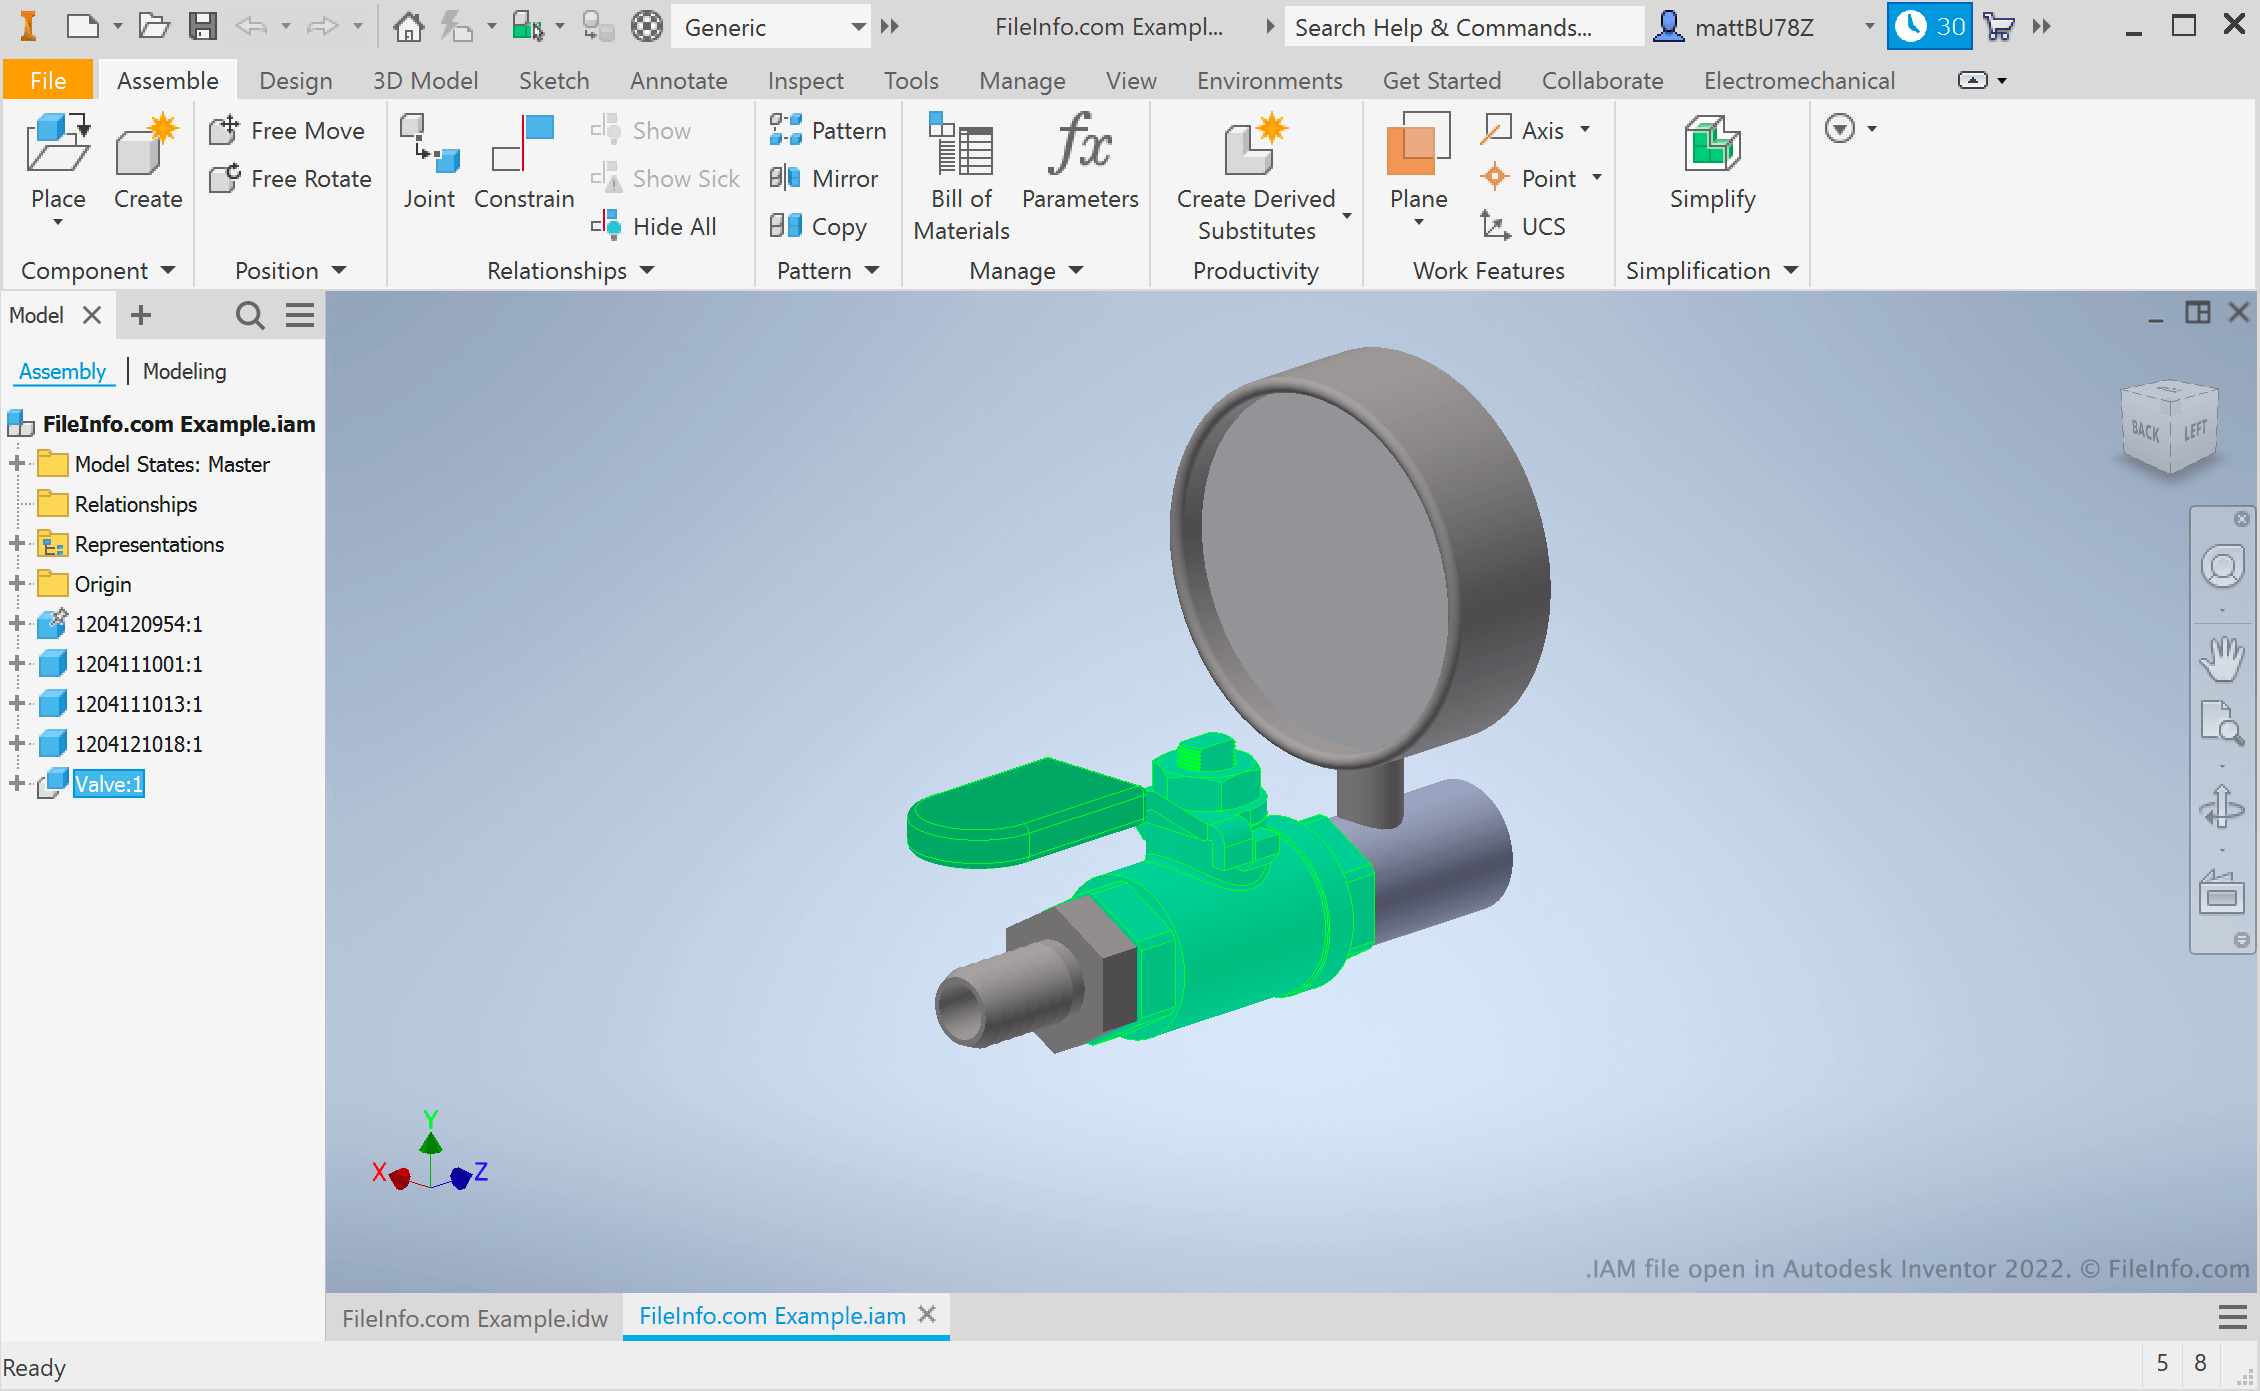
Open the Inventor file in SOLIDWORKS
- Start SOLIDWORKS.
- Choose File > Open.
- Select the Inventor file or neutral export file.
- Review import options if SOLIDWORKS shows them.
- Open the file and allow SOLIDWORKS to translate the geometry.
- Save the imported model as a SOLIDWORKS file.

Use STEP when direct import is not reliable
If direct Inventor import fails or the file version is not supported, ask for a STEP file. STEP is commonly used for transferring solid geometry between CAD systems. It usually preserves the 3D shape well, but it does not bring in the original Inventor feature tree in the same editable form.
For supplier components, STEP is often enough. For a design you must continue editing, you may need to rebuild key features in SOLIDWORKS after the import so the model behaves like a native file.

Check imported geometry
After import, inspect the model before using it in production work. Check units, orientation, missing faces, broken surfaces, imported bodies, and scale. If the model is an assembly, confirm that components are positioned correctly and that the file references were saved where you expect.
Measure a known dimension from the source drawing or supplier data. This confirms that the model did not import in the wrong unit system or with an unexpected scale factor.

Repair or simplify the model
Imported files may arrive as dumb solids or surface bodies. Use Import Diagnostics, Check Entity, Knit Surface, Delete Face, or direct editing tools when the geometry needs cleanup. For simple supplier parts, you may not need to rebuild the model. For parts that require design changes, consider recreating important features natively in SOLIDWORKS.

Protect the original file
Keep a copy of the original Inventor or STEP file. If the import needs to be repeated with different settings, the original file gives you a clean starting point. Save the SOLIDWORKS version in a project folder with clear naming so it does not get confused with the source CAD file.

Troubleshooting import issues
If the file will not open, check whether your SOLIDWORKS version supports the Inventor file version. If an assembly opens with missing components, request a Pack and Go or a complete export package from the Inventor user. If the model imports at the wrong scale, check units during import and verify a known dimension.
When accuracy matters, compare the imported model against a drawing or reference dimensions before releasing downstream drawings, CAM, or manufacturing files.
If the imported file will be used repeatedly, document the source format and import date. That makes it easier to request a newer export later if the supplier or customer changes the original Inventor model.


